Thursday, January 9, 2014

Scrapitude Part III


I am oh, so late posting this.  My food blog, Lori's Lipsmacking Goodness has been getting all of my attention, as well as my kids and the many projects that need to get finished around here. I beg your pardon if you have been following this and wondered what happened.


Scrapitude Part III

1. Remember those 64 - 4 7/8" squares you cut way back when? Cut each of them diagonally once, to make 128 half-square triangles.

2. Next, remember the 128 triangle patches you made in step 2? You'll sew one of the half-square triangles from #1 above to each of the 128 triangle patches from step 2 as shown in the diagram below.


Press the seams towards the larger triangle (the single-fabric) side.
Square up units to 4 1/2".

Note here: You may recall in the cutting instructions that Charlotte had mentioned you could choose to have 50 of the 4-7/8" squares as pairs if you wanted--she addresses that in this video (link below) again as it relates to sewing this step.
scrapitude3diagram.jpg

To watch a video (done by my dear friend Sandy of Quilting For The Rest Of Us) instructional by our dear Charlotte, giver of the Scrapitude Mystery Quilt, click here.

Wednesday, January 8, 2014

Christmas Wall Hanging


Every Christmas I have to make something Christmas-y.  It usually happens pretty late in the game.  Its a bonus that the Christmas fabrics are on sale... No, seriously that has happened way too many times so now I clearly have enough Christmas in my stash.  Time to use it up.  If only I could find the quilt I want to make with it...  Sigh.  I actually did find it then lost it.  Crap.

Anyway this year, I made this.  They are 1 1/2 inch squares.  For the HST (half square triangles) I used the same squares and sewed a seam diagonally down the middle.  Cut one end off and that was that.  I love it.  I kind of want to make an all year one too to hang in my sewing/crafting/family computing room.

Tuesday, January 7, 2014

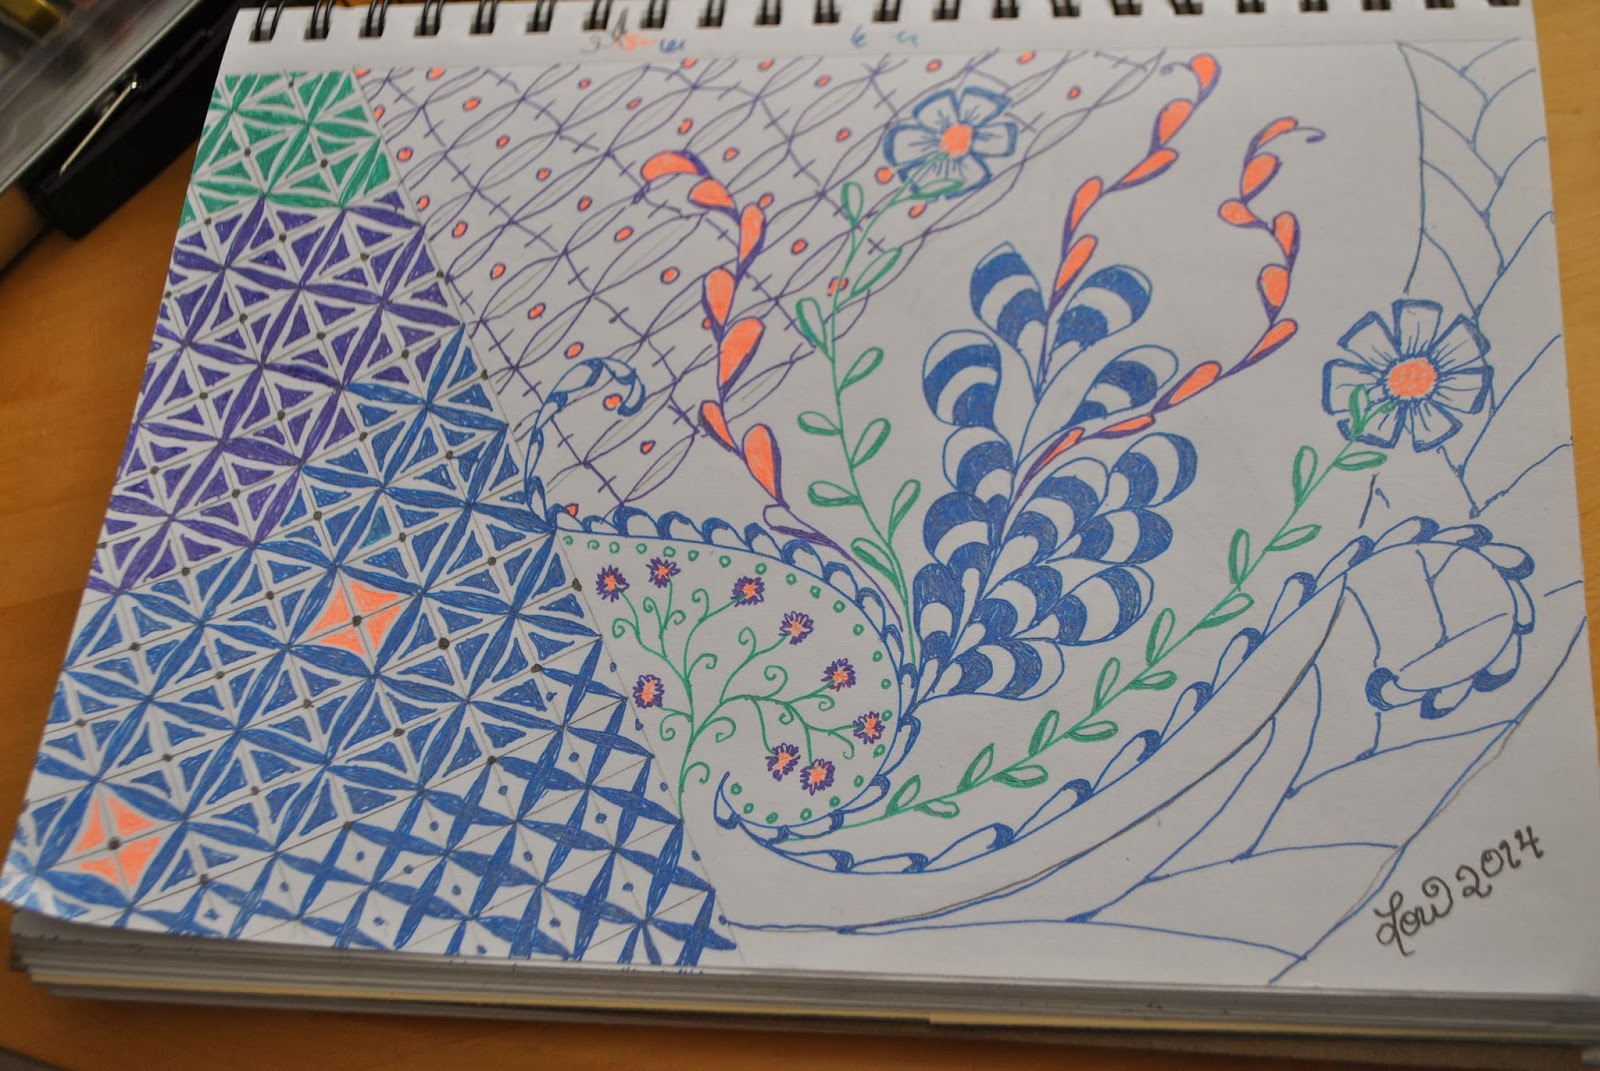
Drawing with Gel Pens

For Christmas my Mother gave my daughters and me, each, a set of gel pens.  We have been drawing pretty regularly ever since.  I found some videos on You Tube for learning Zen Tangle.  This is the lady I copied emulated. Doesn't emulated sound so much better.  She really is quite good.  This is not quite that good.  Fun, though.


My older daughter's drawings.  She is very into fashion lately.  From drawing dresses to making up clothes on a mini dress form.
My youngest daughter has to follow what her sister does, all the time once in a while.  I do love the bustle thing going on.  Thats something unique.


My younger daughter built this wonderful snowman all on her own. Isnt he awesome? I love his huge schnoz. 
Doesn't he kinda look melancholy.  Made me just want to say, "awww".

Friday, January 3, 2014

Duffle Bag: Simplicity Pattern 2274


It's like I forgot all about this blog.  Truth is I have been thinking about how I would like to grow it. Post more often, have tutorials, gee this sounds like resolutions.  Okay, here are my resolutions for 2014 in the Crafty area of my life. Some of which I have done but I need to continue to do it this year as well.

1. Get more organized in my crafty room (definitely have been working on that the past couple weeks).

2. Create with what I have and stop buying more fabric.

3. Finish my UFO's or rid myself of them.

4. Create an Etsy site to sell my stuff.

**************************************

I made this cute little bag from, Simplicity Pattern 2274.

Here is what I liked about the pattern/bag:

I love how big it is, plenty of room to pack stuff for a weekend away and then some.  Perfect for the quilting retreats that I go on where I pack my sheets and towels as well.

I love the side zipper.  Nice place to store things that you might need in a hurry without having to dig through the bag.  It's zippered so you don't have to worry about it falling out either.

I love the little front pocket- great place to stash a ticket as you are getting ready to board.

Here is what I didn't like about the pattern/bag:

Three inch webbing is hard to find so I made my own handles with stabilizer.

I also didn't like the floppiness of the bag- I think I would have used a little more stabilizer.

The one big thing that I didn't like was the quilting/cutting of the main body of the bag.  You should cut it to size after you quilt it.  Depending how close together your quilting is, it will alter the size of the piece. So, quilt it first, large enough so that you can cut away to size as required by pattern.

Would I make it again?  Definitely.  Since I made it for my daughter for Christmas I am sure I need to make it for my other daughter and one for myself.


Thursday, December 19, 2013

Fabric Bin from a Charm Pack


I ordered a charm pack from Missouri Star Quilt Company.  I dont usually buy charm packs but this one was cute and it was a good price.  So I bought it.  Kind of a teaser when you buy one of those bcause so many of them in the pack I totally want now.

I have been looking at the charm pack, feeling a little guilty.  I wanted to do something with it right away.  But what.

Meanwhile my kids have this whole collection of Christmas stuffed toys that come out once a year at Christmas time.  They usually end up all ove the floor, on the couch where I sit.... all over.  Then I thought I totally need a bucket to put all this stuff in!  Goodness.

Light bulb moment!

Sew a bin.  And I did.  You can totally do this with one charm pack and a piece of muslin.  I used Kona cotton Hunter green in the inside but you could use muslin too.  I sewed 4 rows of 9.  I had a few squares left over for the handles and the letters.  I kind of screwed one of the letters up so I had to use fabric from something else. The two "f"'s were from the same piece but I put the fabric back to back.  I was so proud of myself cutting two f's at the same time.  Then I realized one was backward.  Ha.  So again I used a  piece of something else.

I used the hard iron-on crafters webbing.  It was great but I didn't have enough and did not want to spend more so I kind of improvised with scraps.  No worries, it's all good.  It looks cute but it is not going to win any awards for perfection, that is for sure.  No matter, it does exactly what it was intended to do with room to spare.  The thing is pretty huge.

If you want to sew a bin, I suggest you head to one of these sites to learn how.


A lined bin made from diaper boxes.

EFF62209line.jpg title=
Elizabeth Hartman of Oh Fransson for Sew Mama Sew

Tuesday, December 17, 2013

I am pinned to Pinterest

Why have I not been blogging on my craft blog.  Well, you see, it has a name... Pinterest.  Any computer time I spend drooling over the oodles noodles of Pinterest pin.  All very inspiring and all very addicting.

If you have not caught on to the mega mounds of inspiration that is Pinterest, what the heck are you waiting for?  Do it!

Here are just some photos that I found there among the millions.  These are the very things that distract me.
This is fabulous!  House quilt
Understated Chocolate Cake (Cocoa Cake with Bittersweet Ganache) - A Little Zaftig
A little zaftig
tumblr

But I have been crafting too.  Honestly.  Just haven't found my way to my blog to tell you about it.  I will soon though.

Tuesday, November 5, 2013

Mousse Pad

Yes, those are my essential oils.  I am into it.  Thanks to my cousin a doterra rep, I have some melaluca, Breathe and peppermints.  Love them!  I have used the Breathe after I cam home from a walk in the cold outside.  My lungs hurt.  It totally helps me.  I was diagnosed with asthma last year. I spent a lot of time sick during the winter months.  On steroidal inhalers.  Anything I can do to not let that happen again, I am trying. 

But this is not why I wrote this post.  I finally made a custom mouse pad.  I love it.  The fabric is by Kaffe Fasset, one of my fabric designers.  I couldnt be more jazzed about it.  Its so easy. 

Cut the fabric to nearly the size or exactly the size of the mouse pad you want to cover.  You have to be pretty good aim if you cut it exactly.  I used Elmers Spray Adhesive*.  Worked like a charm.  Spray the adhesive onto the pads top layer.  Position fabric and smooth down.  Trim away any excess from the sides.

*Spray adhesive in open areas with lots of ventilation.  Outside is best!