Friday, March 14, 2014
Wednesday, March 12, 2014
Dr. Seuss Hats
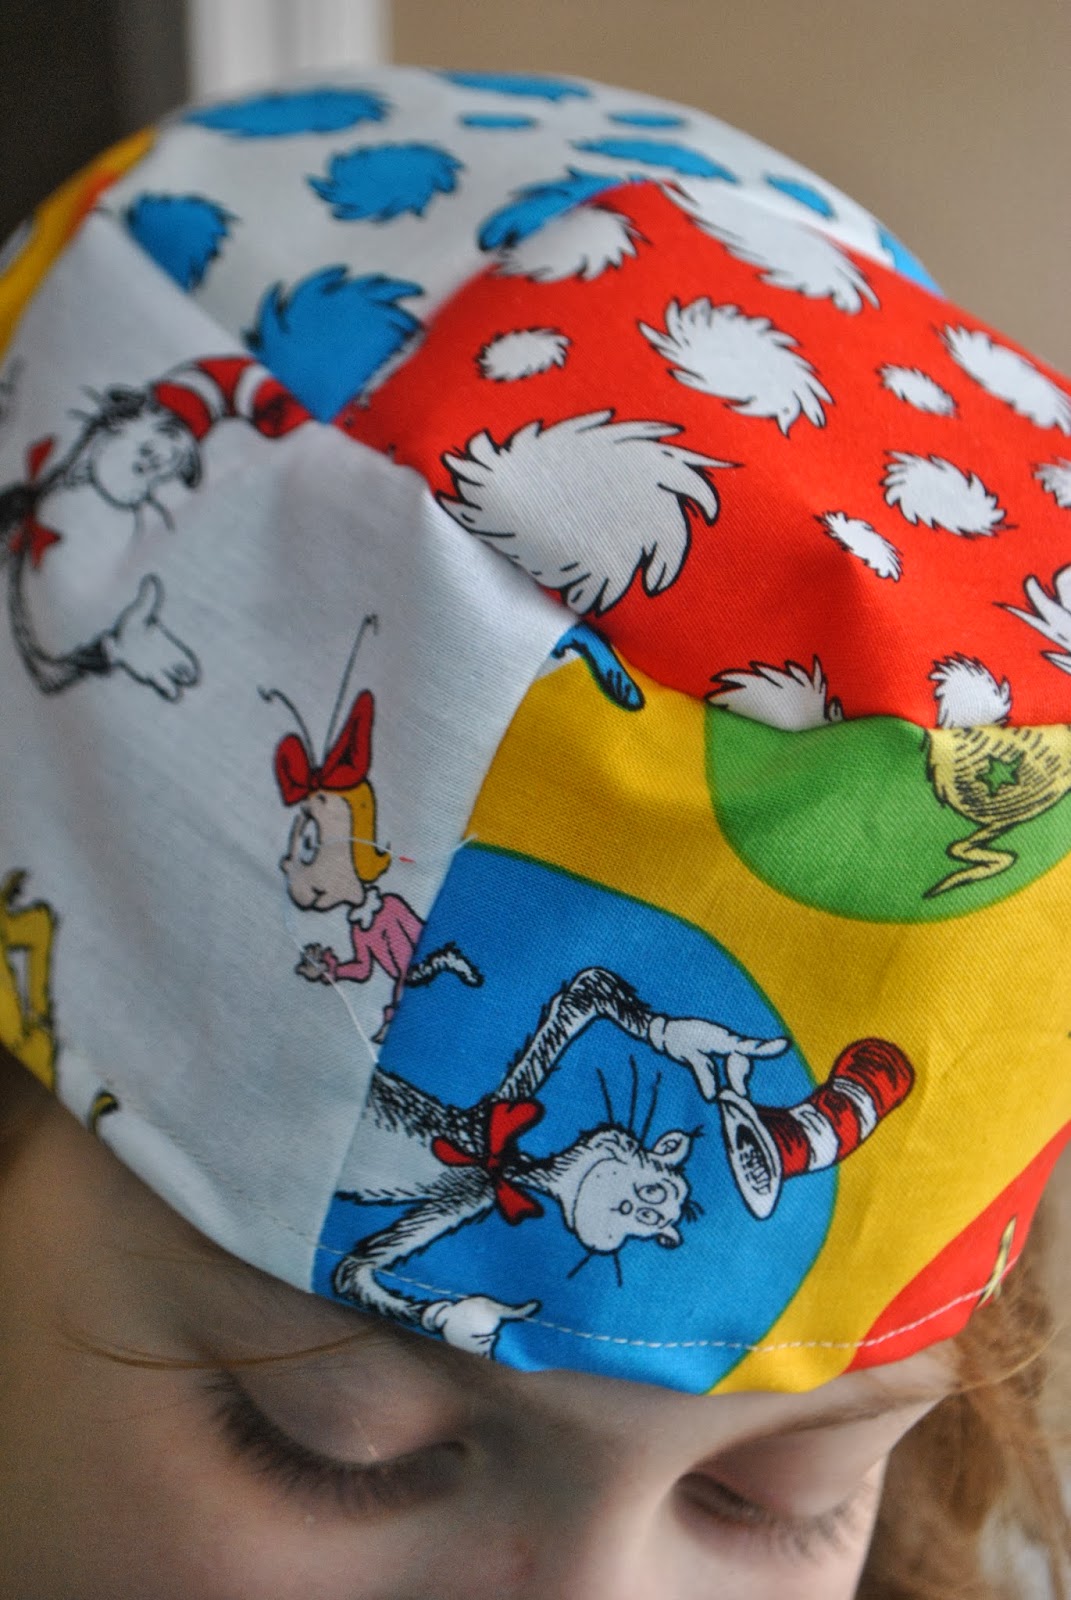
Sometimes at school they have crazy hat day or Dr. Seuss week. I
decided this year I would make them a hat. It just so happened I have
some scrap Dr. Seuss fabric so I put it to work. And voila, Dr. Seuss
silly.
Oh, I had so much fun making this and it came together kind of easily. Usually, when I make a pattern, I get all happy inside thinking what a creative genius I am, ( he he he) and then BAM my design hits a wall and it doesn't work. This time, though, it worked. Wahoo.
Monday, March 10, 2014
Gone Sleddin'
When life gives you a decent day with some snow in the middle of one freakin' frigid winter, then by all means go sledding.
I have to go down the hill at least once. Other than that- I take pics, they sled. it works.
Even the pooch gets in on the action. She is one cool dog, yah know.
Me and the dog took a little walk. I am sure there was lots of field mice because she sure was tracking something on our stroll.
Even the man gets a little silly once in a while.
Sunday, March 2, 2014
Friday, February 28, 2014
Hand Sewing Tools Organized
A little more organization in my sewing room. Organization is such an ongoing process. I like the suitcase my friend gave me for my appliqué but I don't like not being able to see in it or be limited for the amount of things. Sometimes I want to add beads and such and that really bulks up the suitcase. So, now, I have switched.
I like my new plastic case. I can add or take away as needed. That means if I need my beads to go on some appliqué thing, I can just add them on.
My practice rug mug here. I did some needle turn appliqué and wanted to practice before I did my bigger piece. More on that later.
I like my new plastic case. I can add or take away as needed. That means if I need my beads to go on some appliqué thing, I can just add them on.
My practice rug mug here. I did some needle turn appliqué and wanted to practice before I did my bigger piece. More on that later.
Sunday, February 16, 2014
Envelope Pillow Tutorial
I love to make pillows- its so easy and so much more economical. Its easier to find the colors you want to go with your decor as well. I made these for my brother and sister in law for Christmas. They sometimes "fight" over the pillow that they have on the couch. My Mom actually came up with the idea. Perfect! I didn't know for sure how they would go with the couch but I figured I could recover them if I needed to. The chevron green one was the one I was most worried about. I was in luck, she said it went well. Yahoo!
Envelope Style Pillow
pillow form
yardage of your choice
1. Cut a piece of fabric to fit your pillow plus extra for folding over. So, if your pillow is 14 x 14 then you will cut your fabric 15 x 36.
2. Zig zag the edges on both the long sides. On the short sides press 1/2 inch over then half inch again and stitch close to the edge. Then another top stitch close to the other edge.
3. Close so that one end overlaps the other by about four inches. Your pillow should be right sides together at this point.
4. Stitch the ends closed on top and bottom.
Your done. I sometimes put a button on these pillows when I make them. It keeps them closed but its really for decoration as these pillows stay closed anyhow.
Wednesday, February 12, 2014
Scrapitude Reveal
Some of you may already know what the Scrapitude conclusion is by what kind of pieces you had in the last part. In case you didnt, here is how the Scrapitude Mystery Quilt ends. It's a beautiful Saw Tooth Quilt.
Here is Charlotte's quilt- above. Charlotte on the right.
Remember the sashing you cut way in the beginning? Pull it out is time to put it together. To prepare the four corners. Take out a bit of sashing and add to each end those triangles you reserved from the beginning. Sew them onto the ends of the sashing, going in the same direction. Press them open.
Attach them onto the smaller triangles you made from the last part. Set aside.
Now, sew a sashing on to each saw tooth star.
Then piece them together in rows with one of the large triangles at each end. First row, one star, second row 3 stars, third row 5 stars, middle row 7 stars, then you start reducing down again to one. Once you have those rows pieced together, then you sew the sashing together with some 2 1/2 squares you have left. Eh hem, I had none. I got a little over zealous with my four patches. Never to fear, I have a boatload of 2 1/2 inch squares.
Then sew those sashing rows onto the larger rows.
Subscribe to:
Posts (Atom)