Showing posts with label bag. Show all posts

Thursday, September 3, 2015

New Purse Design

This is my new purse prototype.  I am loving the size.  I love the inset zipper inside.  Love the loop on the side for attaching my keys to.  I love the pockets all around. 
But I don't love that the pockets ended up being down so low.  The straps look better in person.  But I have to say I don't love them.  I think I would rather some leather straps... Next time. Its definitely back to the drawing board for this purse design.
My new labels. So exciting.  I have been wanting these for a while.  I used Ikat Print.  They did a fabulous job.  Didn't they? Loved getting my little package all the way from France. 
This is my bag before the moment of magic.  You know that moment when you get to open it and see what the final product looks like all together.
 It's emerging.
This is it before I top stitched around the top for the final touches.

Saturday, August 22, 2015

Goody Goody Binding Kit Sew Along

Looky what I made!  Oh, you want to make one?  Well, you can. The pattern is online here at Lella Boutique!  It was really fun to make this.  I love pulling out my scraps and leftovers and going to town!
Maybe this binding kit will make me a better machine binder. I do okay on the hand binding but I really need to work on the machine binding. Or maybe I will just sew them by hand the next time.  And there will be a next time. 


Thursday, July 24, 2014

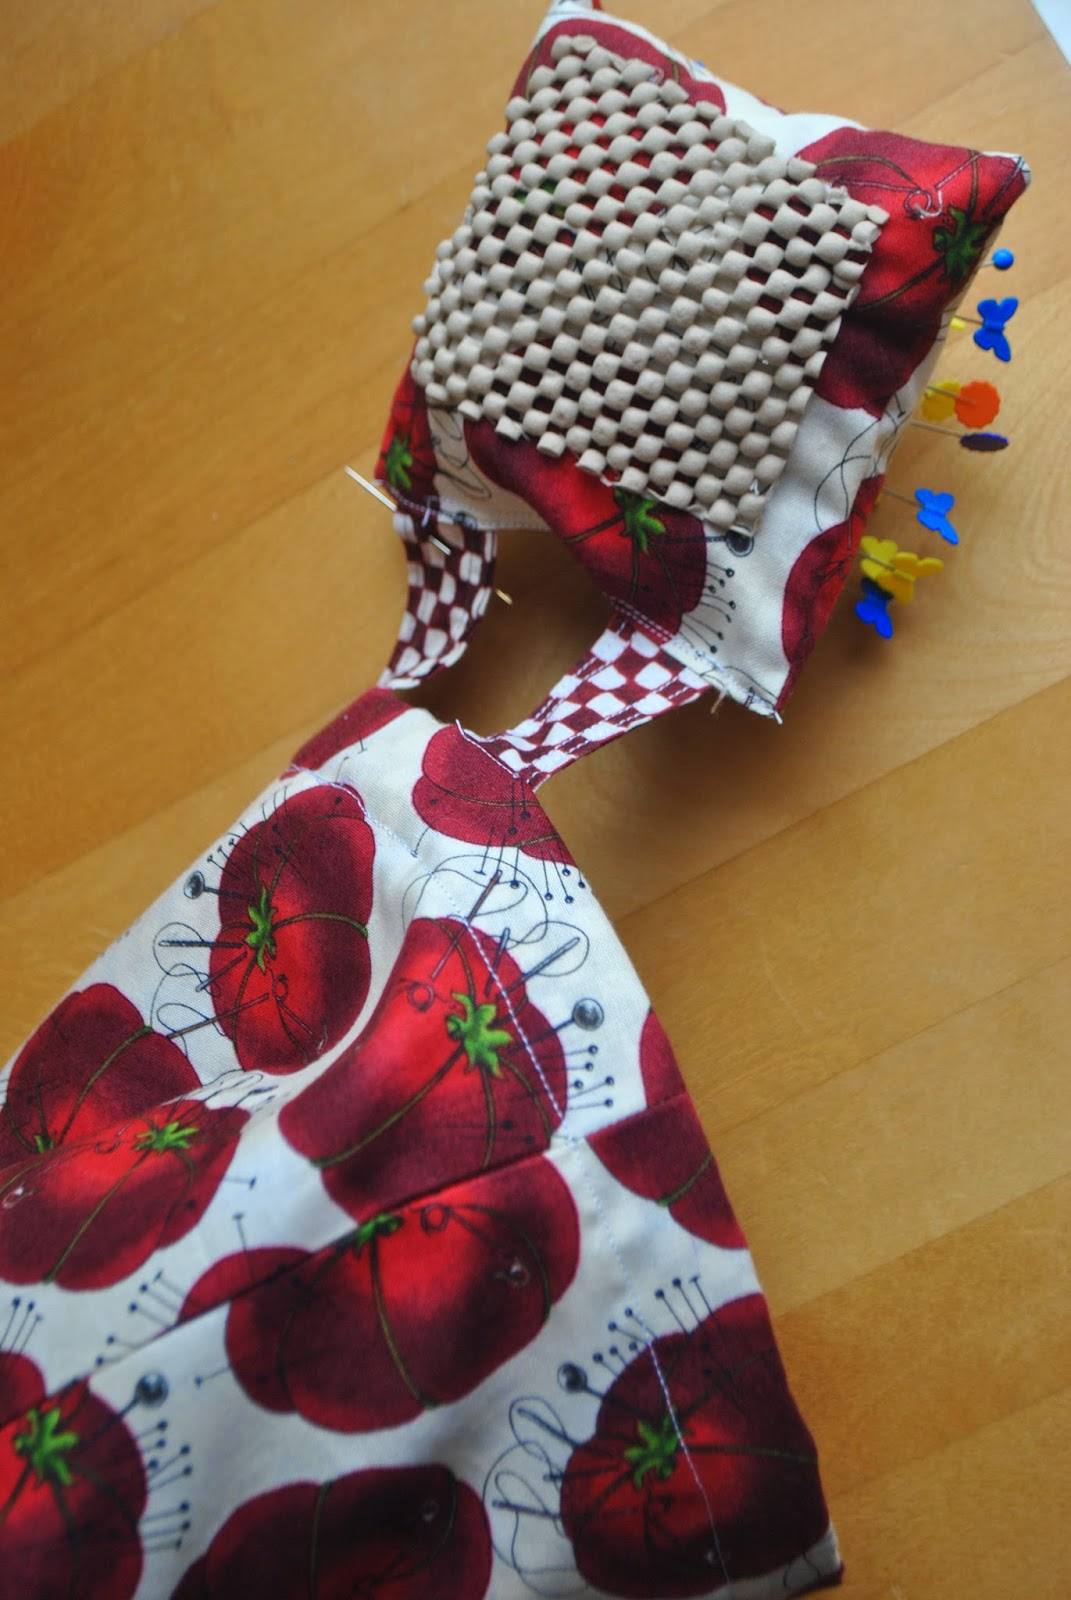
Pins and Trimmins Bag


I have always wanted one of these but just never took the time to make it.  This past Spring (yes, I am a little behind here), I designed a bag for the ladies to do at our guild retreat.  I will post the tutorial next post.
Don't you love this fabric.  I have a thing for notion type fabric.  I think it is incredibly cute and perfect for projects like this.  Its been in my stash for about a year and a half.  Whew, that time went fast.
This is not on the pattern.  One of the ladies suggesting putting a little rubberized backing on it.  I just hand sewed it on
Then I wanted a match set because I never have matched sets.  Like you know those ladies that have matching bags and suitcases.  Not me.  Just a conglomeration of whateve was on sale.  Ha!  But thats okay I am a thrifty kind of girl after all.  But this was a little treat for myself along with some functionality. 

I just measure my machine, figured a rectangular size, added a half an inch for each side. I added some batting as well.  I sewed my sides and one end with right sides together and then turned it inside out.  I added Velcro and the straps.  Just turn in the final side and sew closed.

Yes, below there is a little bit of a mess.  My sewing room is in a constant process of clean and then messy.

Monday, August 1, 2011

Design Wall Monday

I am new to design wall Monday. My friend, Jan, over at Quilting Revolution told me about it.  I was suppose to start posting it last week but fell a little behind the 8 ball.  If you'd liek to join in or check out what everyone else is up to then head on over to Patchwork Times.

Here is the complete bag.  It's huge.  I wanted it carry things to retreat.  I had seen it when I went on a Quilters retreat with my local quilting bee.  This woman had it.  She didn't have a pattern.  She told me that you just make it howver big you want and reduce the bottom row from each side by two.  I looked online to see if I could find something similar but didnt come up with anything.  I decided to wing it.  What the heck.  Live on the edge.
Picked out my fabric, cut squares and put it up on my make shift design wall.  My design wall is a tablecloth hung up with the wrong side facing out; tacked into place.  It may not be the most fashionable thing but it gets the job done.

I have been using this same fabric for my Farmers Quilt.

The squares are 5 1/2 by 5 1/2 inches.

I used purple for my sandwich.  I wasn't thinking because I should have used just plain muslin.  I was going to put a lining in anyhow.  Make and learn.  Right?

Added handles and lining.  I also added a loop to hook over on the other side.  I also added ties on the side when I sewed my front and back together.  This helps to give the honking thing some shape.  Because let me tell you, this thing is HUGE, honking huge!

When you sew up all the bottom you form a gusset without having to cut off the triangles and such.

All in all I love the bag.  It's very feminine and cheerful.